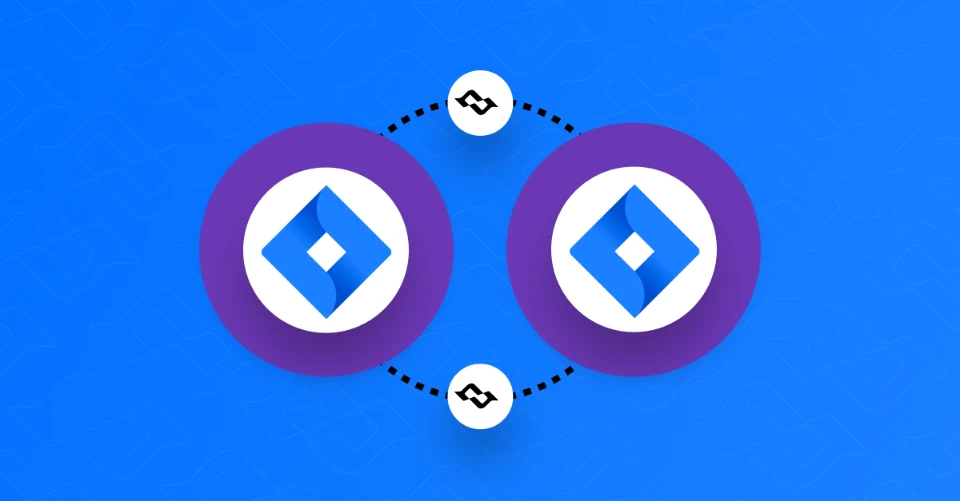
Synchronisation between Jira Cloud instances
In certain business environments, it’s not uncommon to work across separate software instances. Within the Atlassian Jira ecosystem—particularly in larger or enterprise-level organisations—the most frequent example involves separate sites for QA and/or service desk teams and development teams, each operating on their own Jira Cloud instance.
Alternatively, teams may need to share Jira issues with external partners without exposing sensitive internal data.
In all of these scenarios, a common solution is to establish issue synchronisation across different Jira sites.
While there are many third-party apps available on the market, it’s also possible to connect Jira issues between two or more instances using Atlassian Automation, built directly into Jira.
In the following example, we’ll focus on two Jira Cloud instances, though this use case can potentially be adapted to synchronisation between on-prem environments (depending on your security policies and configurations), such as Data Center and other on-prem or cloud instances.

Webhook automation between Jira Cloud instances


If we draw a parallel with everyday life, these two components can be explained as follows:
- Send web request can be imagined as the information we give—or the question we ask—Jira. Think of it like writing a letter containing specific information. Depending on the HTTP method used, Jira (or the service we’re communicating with) will return a particular response.
For example, using the GET method allows us to fetch data about a Jira issue, an Atlassian user, or similar.
On the other hand, with the POST method, we’re giving Jira the information we want to send—such as details about a specific Jira issue (e.g. key, issue summary, current status, etc.). - Incoming webhook is the trigger point for starting a process or automation. Again, if we use an everyday analogy, an incoming webhook is like a mailbox. Once we drop a letter into it, the recipient opens the mailbox, reads the message, and performs specific actions. Depending on the need, they might then send us a reply.

So, how do we sync Jira Cloud instances?
Now that we understand what a webhook is—and the general concept of sending a request and receiving a response—we can take a closer look at how to synchronise issues between two Jira Cloud instances.
Let’s define the setup:
-
SITE1 is the original instance where issues are created
-
SITE2 is the remote instance where “replica” issues are automatically created
-
The data from these replica issues is then kept in sync with the original ones
In our setup, we use a total of 8 automation rules:
-
4 on the original Jira Cloud instance (SITE1)
-
4 on the remote instance (SITE2)
Out of these 8 automation rules, the initial 4 are used to establish the connection between the Jira issues across the two instances.

Automation #1: Sending information from SITE1 to SITE2
Depending on your needs, this automation can be configured so that every time an issue is created in a specific project, a corresponding remote issue is automatically created on the other instance (SITE2).
If more flexibility is required, and you only want to sync certain issues, you can introduce additional criteria or a manual trigger to initiate the automation only for selected cases.

After the automation is triggered, we reach the Send web request action, which uses the POST method to send all relevant data about the Jira issue that initiated the rule.
Web request body = Issue data (Jira format)
Depending on who the automation rule actor is, you’ll need to include an authorisation token in the request header.
You can find more information about creating an authorisation token here.
Automation #2: Receiving information on SITE2 from SITE1
On the remote Jira Cloud instance (SITE2), once the information from the original instance is received, the data is accessed using the {{webhookData}} smart value.
For example, you can create a new issue on SITE2 with the same summary and description as the original issue.
Additionally, the new issue must store the key of the original issue. Since Jira issue keys are unique per site, the link between the two issues is maintained by storing the issue keys from both instances.
In the newly created Jira issue, the key from the original issue will be saved in a custom text field called “Original issue key”.
You can use the following smart values to access the data:
-
Summary: {{webhookData.issue.fields.summary}}
-
Description: {{webhookData.issue.fields.description}}
-
Original issue key: {{webhookData.issue.key}}

Automation #3: Sending the key of the newly created issue from one Jira Cloud instance to the other
The previous automation created an issue on the remote instance (SITE2), copying certain values from the original issue on SITE1.
The next step is to send the key of this newly created “duplicate” issue back to the original instance and store it in the original issue.
We’re still working on SITE2, where an automation rule is triggered after issue creation.
This rule uses the POST method to send data (specifically, the new issue key) back to SITE1.

Automation #4: Writing the key of the newly created remote issue to the original issue
In Automation #3, we sent all the necessary data from the newly created issue on the remote instance (SITE2) back to the original instance (SITE1).
Recall that we previously saved the original issue key in the newly created remote issue. That means we now know exactly which Jira issue on SITE1 needs to be located and updated.
Using this information, the automation on SITE1 finds the original issue and writes the key of the remote issue into a dedicated custom field—ensuring both issues are fully synchronised and cross-referenced.


ChatGPT said:


Data ‘Sync’
With the previous steps and automations, we’ve established a link between two Jira issues. Thanks to the issue keys stored on both sides, we now know exactly which data to sync, and where.
The following example covers synchronising data from SITE2 to SITE1. If needed, the same setup can be mirrored to support synchronisation in the opposite direction.
Automation #5: Sending updated information from the remote issue
When data is updated on the remote issue, we want to synchronise certain fields with the original issue.
To do this, we use the Issue Updated trigger. If you want to trigger automation only when specific fields change, you can alternatively use a trigger like Field value changed.
As part of the automation, we again use Send web request to send the updated issue data.
If you don’t want to send all fields from the issue, you can select the Custom data option in the Web request body field and manually define which information should be included in the request.

Automation #6: Updating the original issue
On the SITE1 instance, similar to what we did in Automation #4, we use a JQL search to locate the original issue that needs to be updated.
Since the remote issue (on SITE2) contains the key of the original issue (stored in a custom field), we can easily retrieve this value.
Finally, using the Edit issue fields action and the relevant {{webhookData}} smart values, we update the original Jira issue with the data received from the remote one.


Statuses of individual Jira issues can also be synchronised in a similar way—regardless of whether the workflow schemes on both instances are identical or different.
What does it look like in practice?
Although it may seem like a lot of work at first, the entire process is actually quite straightforward.
In essence, we’re simply sending data from one Jira Cloud instance to another.
From all the information that’s sent or received, we extract only what we need, then write or copy it into specific fields on the target issue.
In the example below, you can see two synchronised issues on two different instances.
After the Start date field is updated on the remote issue, the same value is automatically written—i.e. synchronised—into the original issue.